déploiement d'un site statique Hugo sur Github
🧭 Objectif : Créer un site statique avec Hugo (écrit en Go) et l’héberger sur GitHub — sur l’exemple de ce site : https://alenorcy.github.io.
Le contenu du site pourra ensuite être rédigé en Markdown.
💡 Pré-requis : Avoir déjà un compte GitHub.
📚 Sommaire :
Création d’un repository Github
Création du site en local
Création du dépôt Git local
Mise en place d’un thème pour Hugo
Premier test
Première synchronisation distante
Configuration finale sur le repositoy Github
🏗️ Création du repository GitHub#
Depuis votre profil, cliquez sur l’onglet Repositories, puis sur le bouton New :

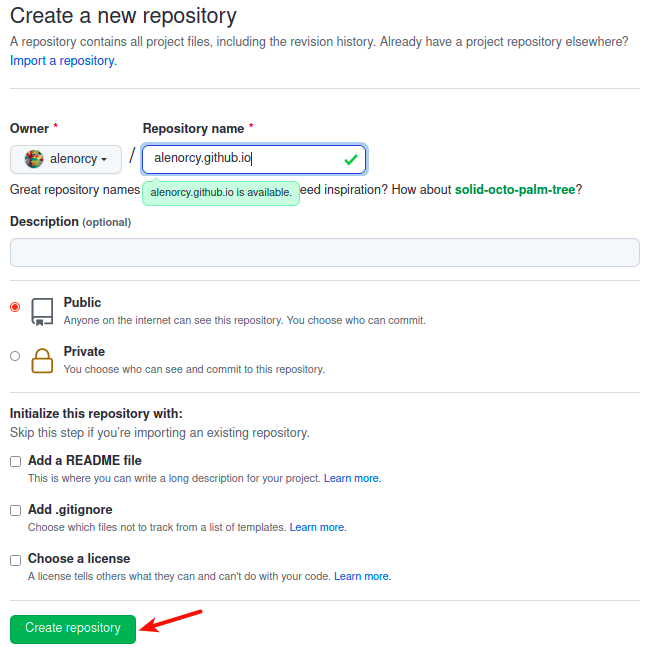
Saisissez un nom au format [compte].github.io (⚠️ ce format est indispensable — il faut précéder .github.io de votre nom de compte).
Exemple : mon compte GitHub est alenorcy, donc mon dépôt s’appelle alenorcy.github.io.
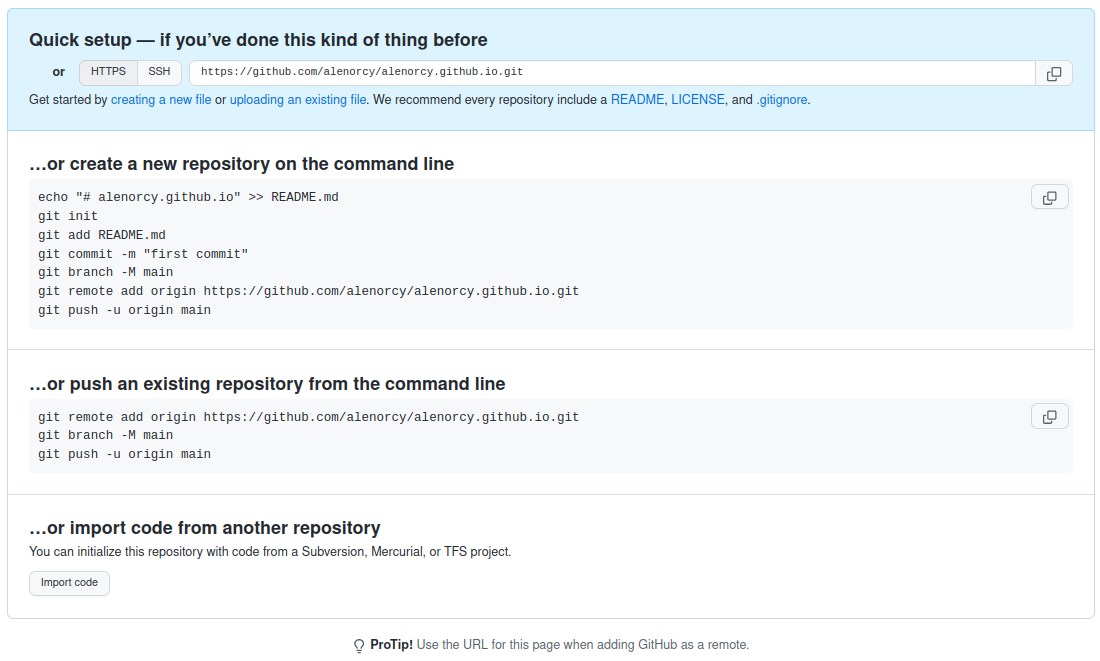
GitHub vous indique ensuite quelques conseils d’utilisation :
💻 Création du site en local#
Installation de Hugo (avec snap sous Linux Debian) :
sudo snap install hugo --channel=extended
Création du site avec Hugo :
hugo new site alenorcy.github.io
🧱 Création du dépôt Git local#
Initialisez le dépôt local :
cd alenorcy.github.io
git init
🎨 Mise en place d’un thème pour Hugo#
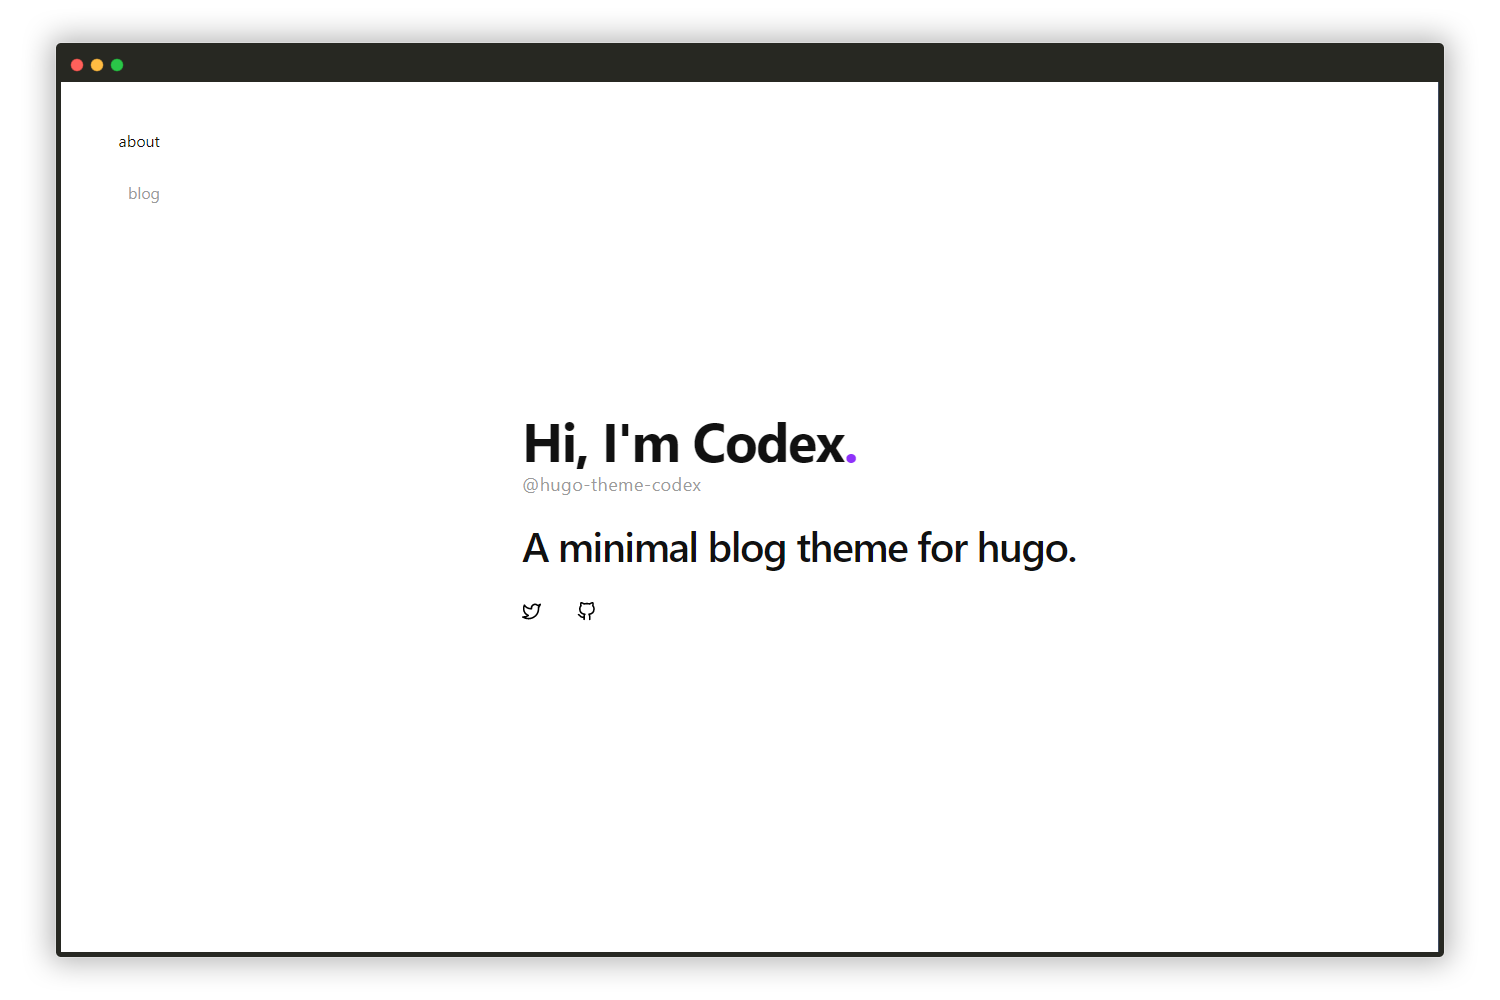
Choisissons le thème codex :
git submodule add https://github.com/jakewies/hugo-theme-codex.git themes/hugo-theme-codex
cp themes/hugo-theme-codex/exampleSite/config.toml .
Modifiez ensuite quelques lignes dans le fichier config.toml :
- Commentez la ligne
themesDir = "../../" - Mettez à jour :
- title et baseURL dans la section globale
- twitter et github dans la section `[params]
🔎 Premier test#
Lancement du site en local :
hugo server -D
Puis ouvrez dans votre navigateur : http://localhost:1313/
🚀 Première synchronisation distante#
Envoyez votre site local vers GitHub :
git add .
git commit -m "premier commit"
git branch -M main
git remote add origin https://*******-mon_token-***********@github.com/alenorcy/alenorcy.github.io.git
git push -u origin main
⚙️ Configuration finale sur le repositoy Github#
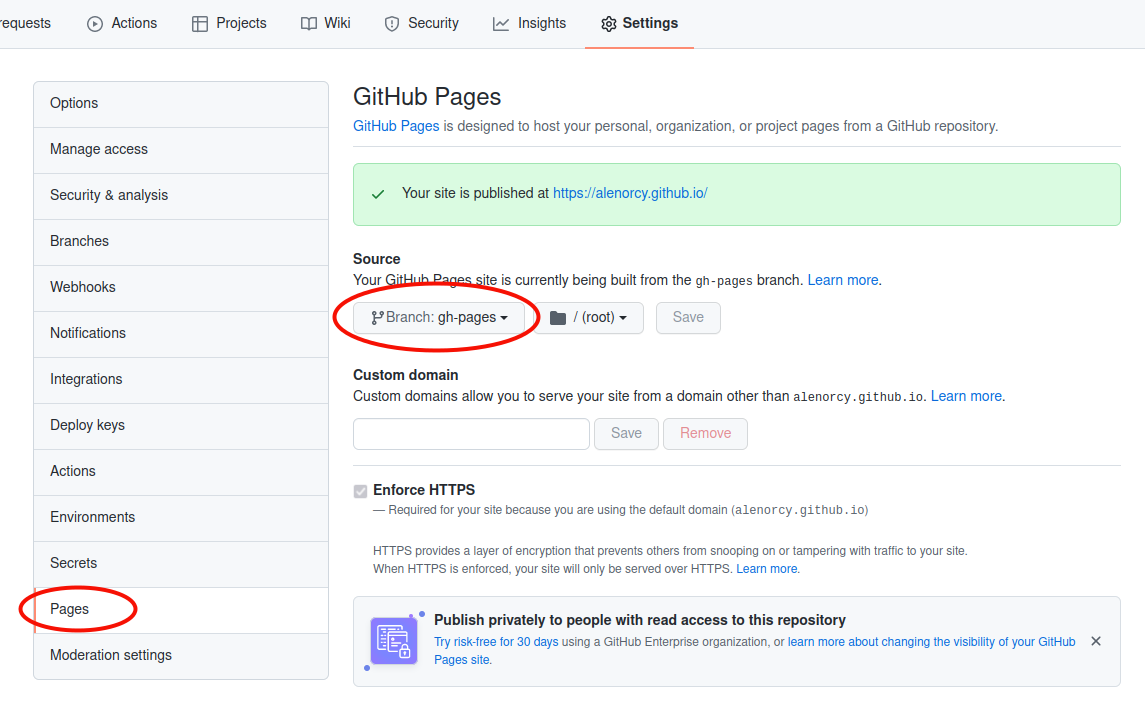
Dans Settings > Pages > Source, définissez la branche distante gh-pages pour la publication :
Créez le fichier .github/workflows/hugo.yml (depuis GitHub, dans la branche main) :
# Workflow pour construire et déployer un site Hugo sur GitHub Pages
name: Deploy Hugo site to Pages

on:
  push:
    branches: ["main"]
  workflow_dispatch:

permissions:
  contents: read
  pages: write
  id-token: write

concurrency:
  group: "pages"
  cancel-in-progress: true

defaults:
  run:
    shell: bash

jobs:
  build:
    runs-on: ubuntu-latest
    env:
      HUGO_VERSION: 0.102.3
    steps:
      - name: Install Hugo CLI
        run: |
          wget -O ${{ runner.temp }}/hugo.deb https://github.com/gohugoio/hugo/releases/download/v${HUGO_VERSION}/hugo_extended_${HUGO_VERSION}_Linux-64bit.deb \
          && sudo dpkg -i ${{ runner.temp }}/hugo.deb

      - name: Checkout repository
        uses: actions/checkout@v4
        with:
          submodules: recursive

      - name: Setup Pages
        id: pages
        uses: actions/configure-pages@v5

      - name: Build with Hugo
        env:
          HUGO_ENVIRONMENT: production
          HUGO_ENV: production
        run: |
          hugo \
            --minify \
            --baseURL "${{ steps.pages.outputs.base_url }}/"

      - name: Upload artifact
        uses: actions/upload-pages-artifact@v3
        with:
          path: ./public

  deploy:
    environment:
      name: github-pages
      url: ${{ steps.deployment.outputs.page_url }}
    runs-on: ubuntu-latest
    needs: build
    steps:
      - name: Deploy to GitHub Pages
        id: deployment
        uses: actions/deploy-pages@v4
Récupérez ensuite le fichier en local :
git pull
🌍 Publication et mise à jour#
C’est terminé ! 🎉
Votre site est désormais publié sur GitHub Pages.
Pour mettre à jour le contenu de votre site :
git add .
git commit -m "mes modifications blabla"
git push -u origin main
🔗 Liens utiles :#
- https://gohugo.io/getting-started/quick-start/
- https://gohugo.io/hosting-and-deployment/hosting-on-github/